
This is a guide to growing Oyster Mushrooms using waste coffee grounds collected from a coffee shop or cafe. If you want to use your own home waste coffee then we have a kit that’s designed especially for this here: Gourmet Mushroom Coffee Grounds Kit
Plan Ahead
The coffee brewing process pasteurises the grounds which temporarily kills off competing micro-organisms (such as molds and bacteria) that left un-hindered would otherwise flourish and contaminate the coffee. Pasteurising gives the oyster mushroom mycelium (the fungal root-system) a short window of opportunity to grow and establish itself. If the coffee is left for more than 24 hours the competitors will begin to return, and it will be unuseable. So it really is very important that the coffee should be collected and used on the same day. Alternatively the grounds can be collected and frozen on the same day, then defrosted before use.
Order your spawn in advance (it will keep for up to 3 months in the fridge) and plan ahead. 1kg of sawdust spawn is sufficient for 2 x 2.5kg of coffee – 500g of spawn per 2.5kg. For King Oyster we recommend 1 kg of sawdust spawn per 2.5 kg of coffee. We prefer to use sawdust spawn beacuse it’s cheaper than grain spawn, and you can use more of it. The more spawn you use the quicker the mycelium will establish itself giving it a much greater chance of out growing it’s competitors. We recommend growing: Pearl Oyster, White Oyster, Grey Oyster, and King Oyster.
Collecting the Coffee
Most busy high street coffee shops and cafes will usually glady give you their waste coffee. If they refuse, then just go to the next one. Costa Coffee is one chain that advertises waste coffee to give away in most of their shops. Spent coffee goes to landfill, so you are doing them a little favour in taking some of their waste. In our experience it’s best to call in the mid afternoon after the busy lunch time period when they’ll have plenty to give away.
With mushroom growing cleanliness is essential to success, so make sure whatever you are using to collect the coffee is clean. As a guide 2.5kg-3kg of coffee will fit comfortably in a 5 litre container. We prefer a container with a lid, but bags are OK too.
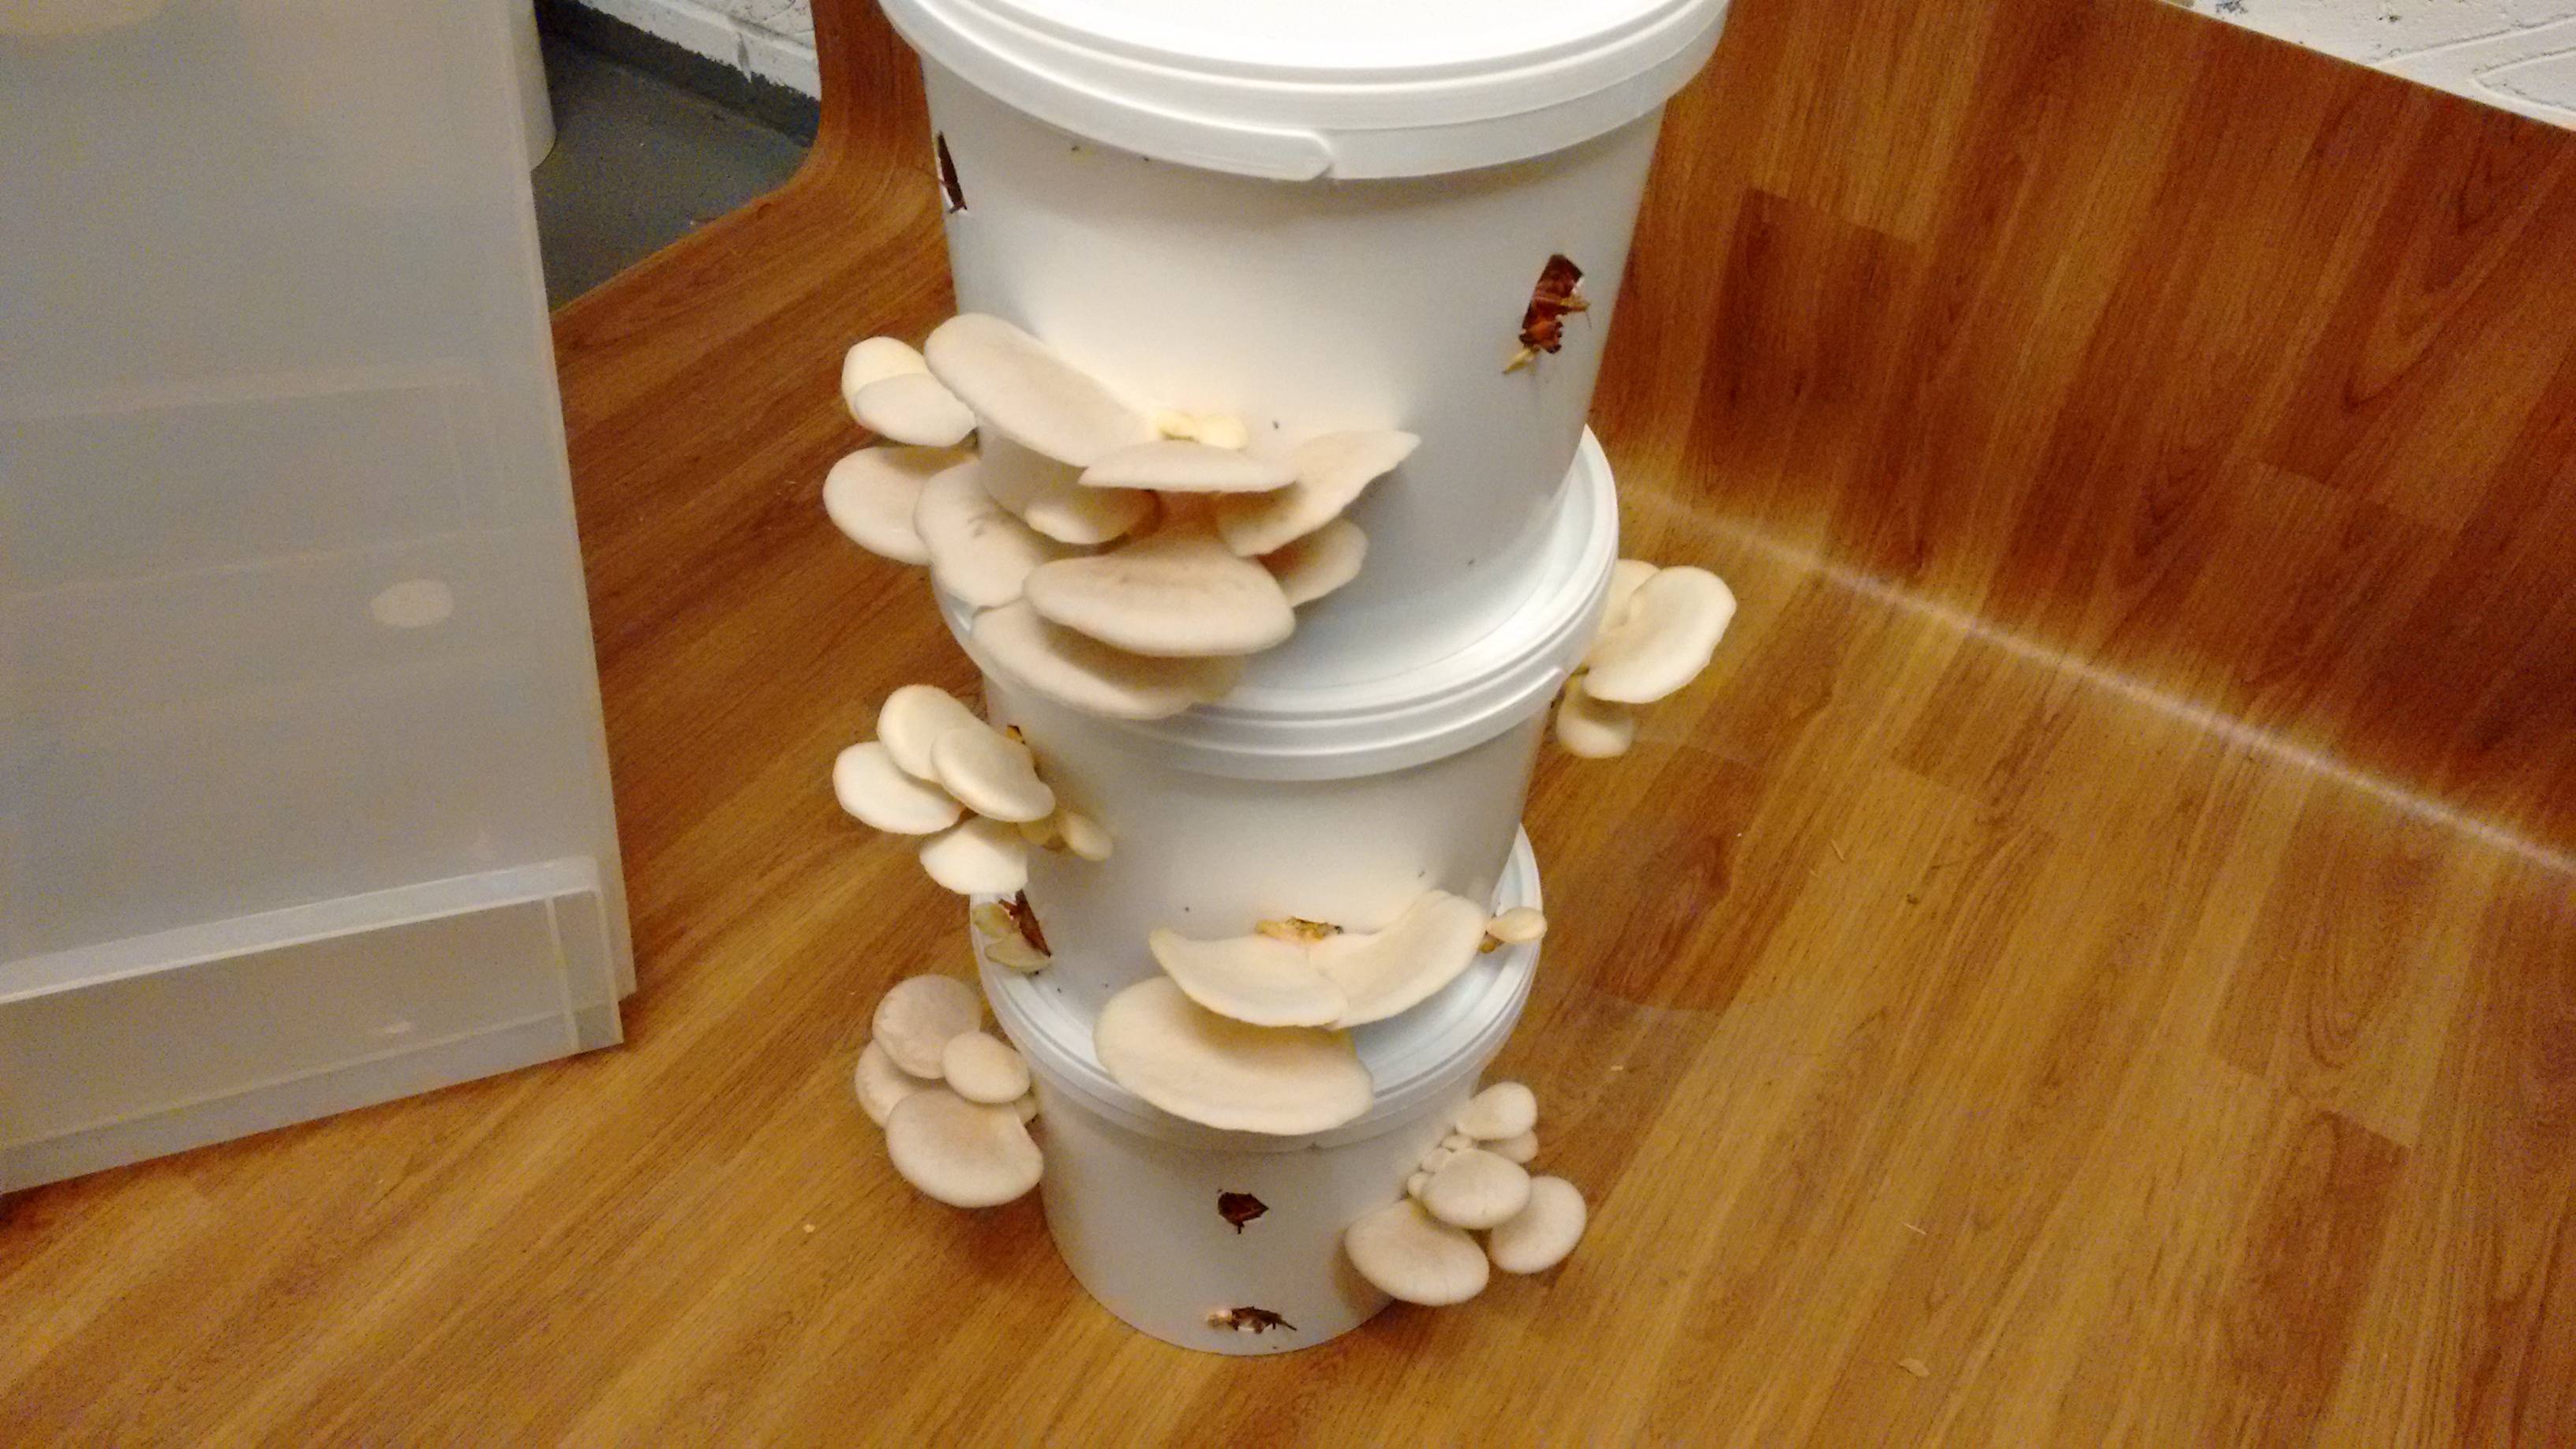
Paint tubs used for growing
Choosing a Growing Bag or Container
The best bags are Filter Spawn Bags which are specially designed for mushroom growing. The filters prevent contamination entering the bag, and also ensure the right amount of oxygen is supplied to the mycelium. They can be purchased here.
Any other growing container should be filled to 2/3rd of its capacity to give the mycelium some air to utilise. A 5 litre bag or tub is a good size. A used tub (paint, ice cream etc.) should be thoroughly cleaned before use and have four holes made round the sides 10-15 mm in diameter. A lid is prefered but tin foil can be used instead.
Inoculating the Coffee
This is the process of mixing the spawn (the carrier for the mycelium) into the coffee. Again, cleanliness is paramount, and all utensils, mixing containers, etc, should be thoroughly cleaned before hand. For ease of mixing it’s best to mix in an oversized bowl or container with a 15 to 20 litre capacity. With 1 kg of sawdust spawn you can inoculate 5 kg of coffee with 1 kg of spawn and then divide it between 2 containers, or inoculate 2.5kg of coffee with 500g of spawn and store the remaining sawdust spawn in the fridge until you get the next batch of coffee (remember for King Oyster it’s 1kg of spawn per 2.5kg of coffee).
With the bag still sealed, gently break up the spawn until it returns to sawdust. Cut off one corner of the bag and distribute the spawn over the surface of the coffee. Use a clean large spoon/spatula/scoop to mix the sawdust spawn thoroughly into the coffee, ensuring that it is evenly distributed throughout. About 2-3 minutes of mixing will be sufficient.
Fill your chosen container with the coffee/spawn mixture ensuring there are no air pockets. Shake it down, and agitate the mixture so that it fills evenly ensuring the top is level. For spawn bags fold over the top of the bag to half way above the first filter strip and tape it airtight. Ordinary bags should be sealed airtight and then have 4 holes punched in the bag half way between to the top of the bag and the top of the coffee.
Growing Mushrooms
The process can be broken down into 2 stages: 1) The Spawn Run; and 2) Fruiting.
Stage 1: The Spawn Run
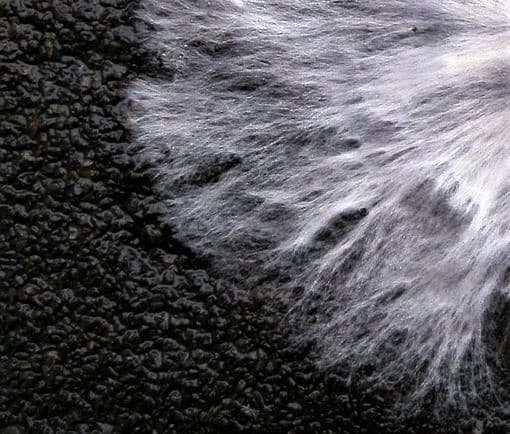
Mycelium Colonising Coffee
Sawdust spawn is the carrier for the mushroom mycelium (the mushroom’s root system) which has been inoculated into the coffee. To produce a crop (or flush) of mushrooms, the mycelium must first grow through, or colonise, the coffee. It has a source of food, but it also needs warmth for it to do so. The ideal temperature for a fast spawn run is around 20 deg.C (average room temperature). At around this temperature it will take 7-14 days for the coffee to be fully colonised with mycelium. Keep the bag/container in a warm dark place in the house, and one that is preferably warm both day and night—this could be an airing cupboard, under the bed, or in a cupboard.
After 3-5 days check for white ‘cottony’ growth appearing in small patches on the coffee. As time progresses the patches will join up, and, after a minimum of 7 days and a maximum of 21 days, the coffee will have turned completely white with mycelium.
Stage 2: Fruiting
Now that the coffee is fully colonised, the mycelium has built up a strong network and enough resources to produce the first flush of mushrooms. Move the container to a light airy place, and preferably somewhere that cools down overnight—like a kitchen worktop, a shaded windowsill that doesn’t receive direct sunlight or a porch area. Also, make sure the bag isn’t near a direct source of heat like a radiator. Unlike other mushrooms, Oyster mushrooms require daylight to grow—enough light to read a newspaper at arms length.
Exposure to oxygen stimulates the mycelium into producing mushrooms. Solid containers with holes in the side will produce mushrooms from these holes – just mist the holes a couple of times a day to prevent the mycelium from drying out. For bags, there are 2 ways of introducing oxygen, each with its own merits. Method 2 should be used for King Oyster because it likes to grow from a horizontal surface.
Method 1: Cut a cross shaped hole in the bag at the centre of the coffee on the largest side. Try not to damage the mycelium when doing so. The best way to do this is to gently push down on the top of the bag so it comes away from the mycelium. Using good sharp scissors pierce the bag and cut a 10 cm slit down the bag. From the middle of the slit, you can gently prise the bag away and cut 2 horizontal slits 5 cm to the left and 5 cm to the right. The hole needs to be kept damp to prevent the mycelium drying out. Mist it a couple of times a day, about 5 squirts will be enough.
Method 2: This involves applying a ‘casing layer’ to the top surface of the mycelium. This layer prevents dehydration and provides a nice damp atmosphere for the mushrooms to form underneath. You’ll need 75g of Vermiculite soaked in water for 10-15 minutes, and then drained. Cut off the bag 5cm above the surface, and put a rubberband round the top of the bag to prevent the vermiculite slipping down between the sides. Gently spread the vermiculite in an even layer accross the entire surface without leaving any patches of mycelium exposed. Vermiculite holds water very well, so will only need misting once a week to keep it moist.
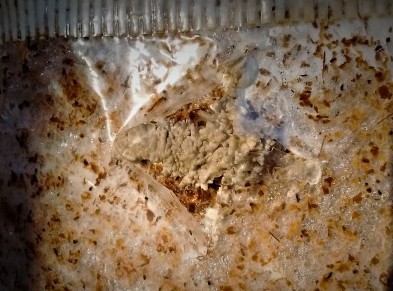
Primordia Close Up
7-10 days later primordia (the term used for ‘baby’ mushrooms) will begin to form either under the cross slits or they will push their way up though the vermiculite. Forming overnight, they appear in clusters and look like little off-white pin-heads—so keep a careful eye out during this time—and mist at least twice daily once they appear (which stops them drying out). Primordia really do enjoy the misting, so mist as often as you can. Continue to mist at least twice daily while they mature into mushrooms.
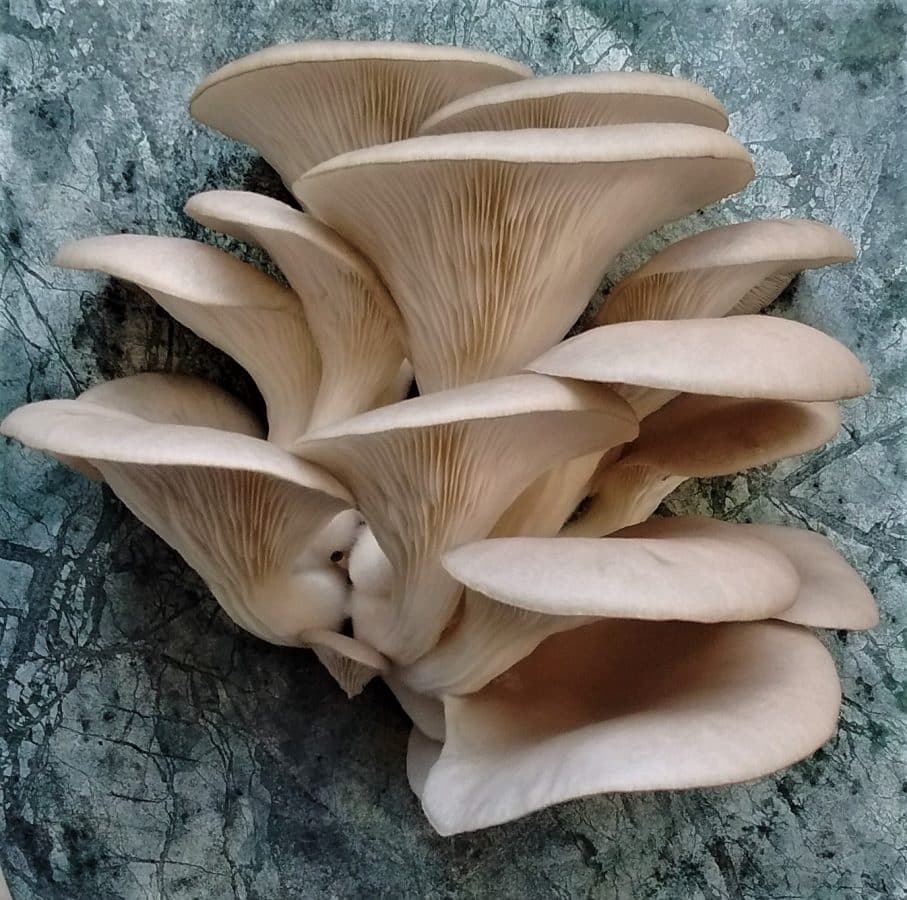
The perfect stage for cropping
The mushrooms will be ready to be cropped in around 5-7 days after the primordia have formed. They are best cropped before they reach full maturity, as they produce a tremendous amount spores when fully mature. Crop before the caps have flattened out and are still slightly rounded and the rims will be slightly rolled under (as pictured). Some mushrooms will be larger than others, but still crop the hole cluster at once by carefully grabbing the base of the cluster where the stems meet, and with a twisting action, gently ease away.
The coffee is capable of producing a flush approximately every 2 weeks, for around 10 weeks. To make sure it continues to produce—after each flush—remove any stem debris left behind carefully from the vermiculite/hole with a pointed knife. Ensure all the stem is removed, leaving just coffee behind. If the cross slit won’t close back over after cropping (which protects the mycelium underneath from drying out) then use a piece of tape to close it, then remove the tape after a couple days and it will then stay closed. Continue to mist the hole twice daily (or the vermiculite once a week), and after a few days, the mycelium will re-colonise the hole in preparation for another flush.
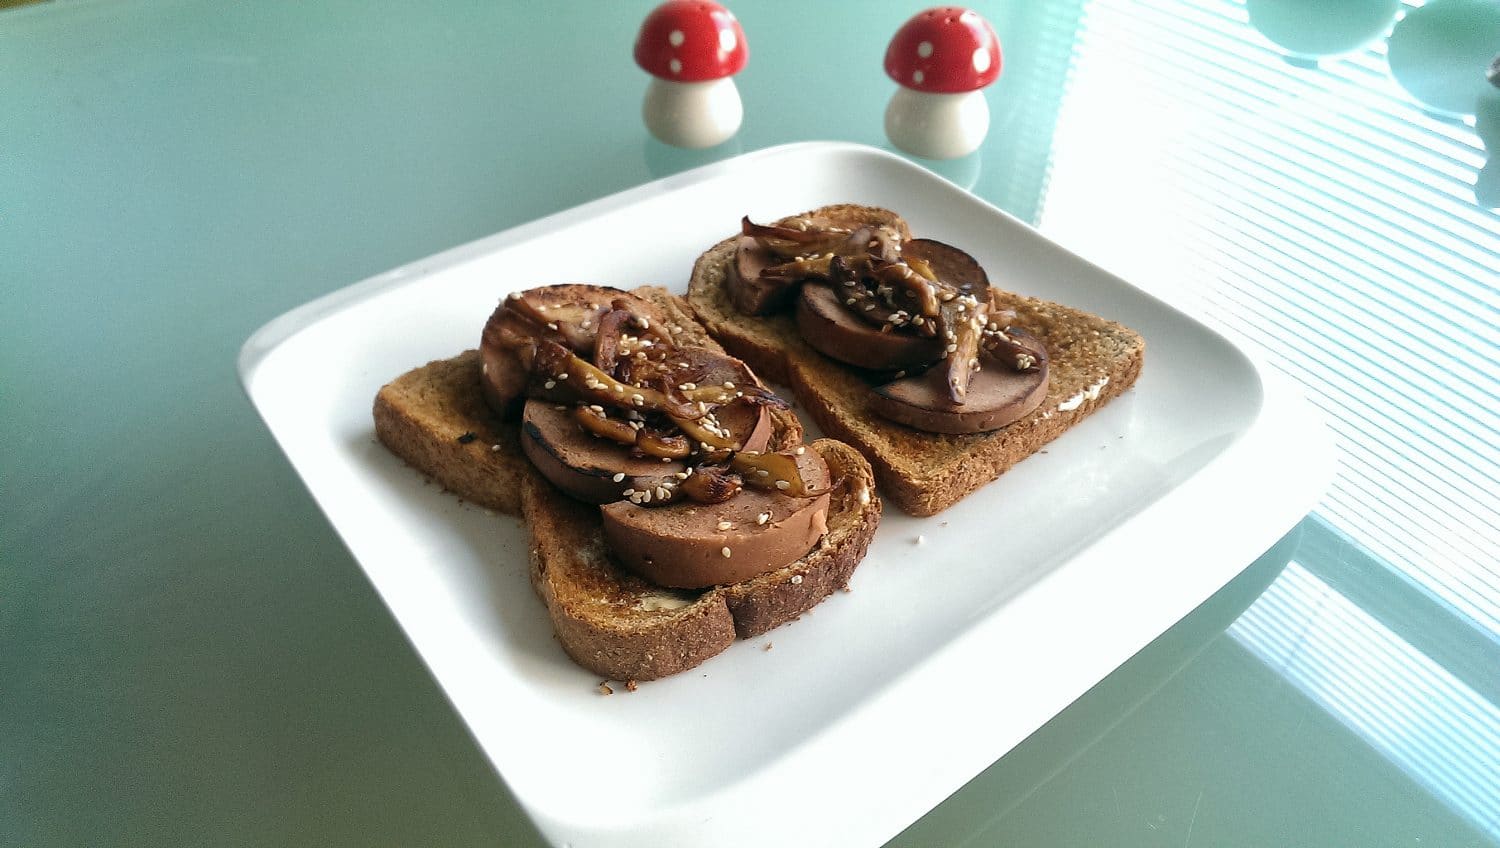
Oyster Mushrooms and Polony Sausage on Toast
Oyster mushrooms can be compared to fresh fish in terms of storage. They are best enjoyed as fresh as possible, and this really is the advantage of growing your own. Often the simplist way of cooking them is the best. Torn into strips and stir-fried with onion, garlic, and soy sauce, till golden brown and a tablespoon of sesame seeds added just at the end, then served on wholemeal toast is a wonderful breakfast.
Once it has finished producing the coffee can be used as spawn to created an outdoor bed using woodchip, or it can be mixed into a compost pile where it may continue to produce.
Troubleshooting
If small patches of green mold appear, then don’t worry the oyster mycelium will deal with it and eventually overrun it. But if the green mold runs rampant there is little you can do unfortunately and the coffee will have to be discarded.
If the primordia appear then shrivel up, then conditions are too dry, so move to an area that is damper and isn’t heated. Equally if the mushrooms start browning at the edge and look dry and dull then conditions are too dry and they should be re-located, and sprayed copiously with water several times over an hour to rehydrate them.

